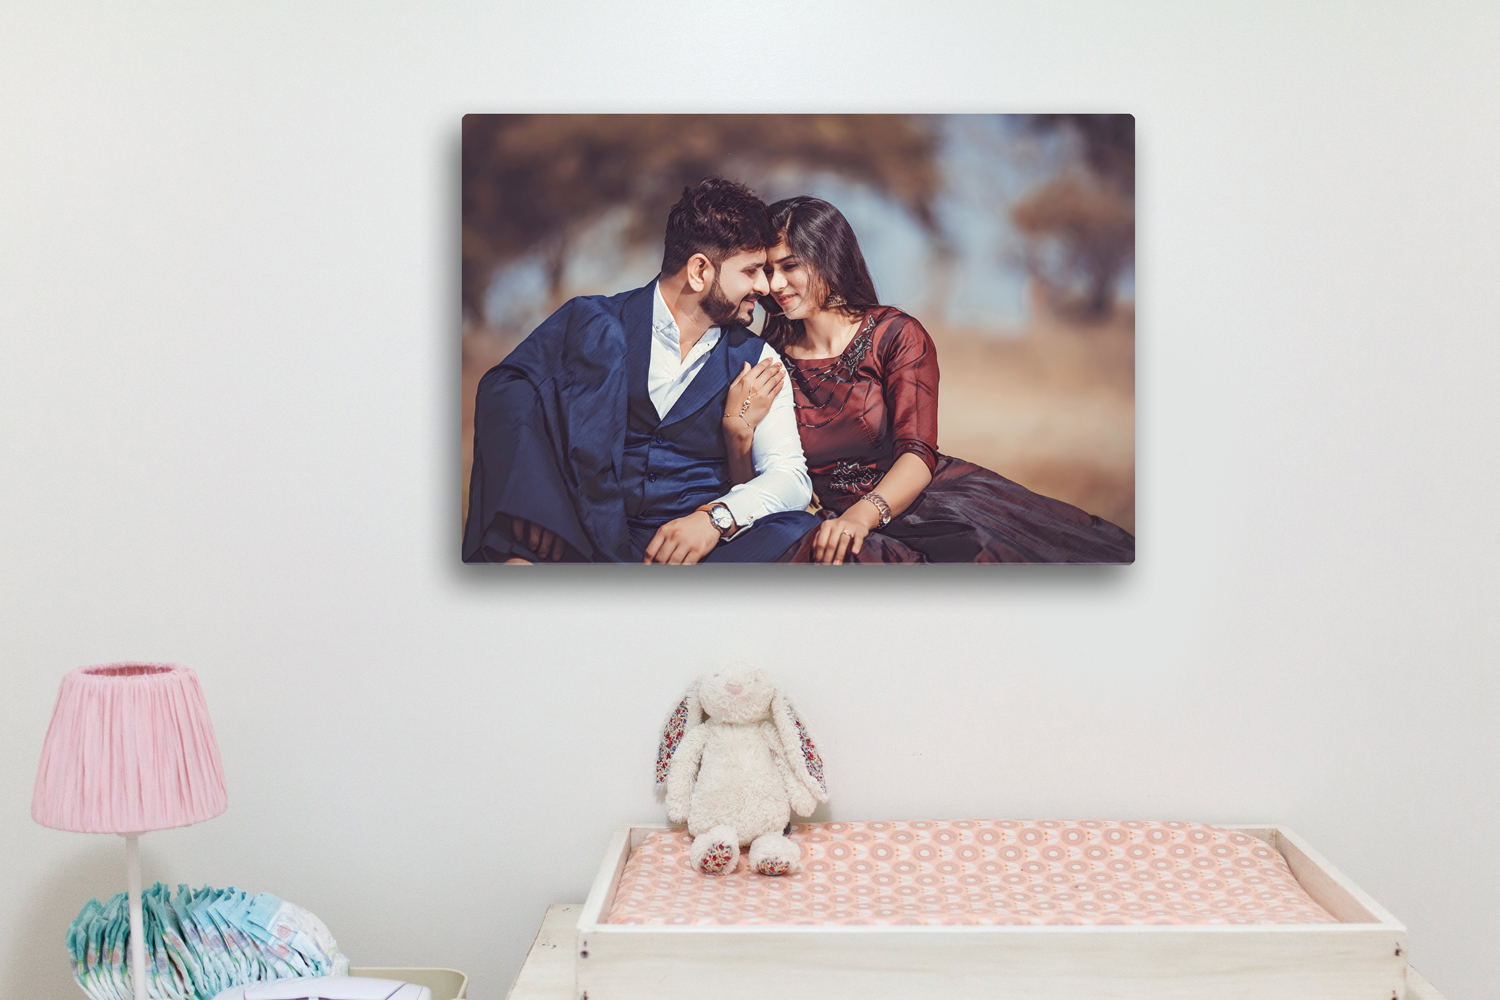
Most spaces can become gallery walls. This is a modern and elegant option that will make any interior look sophisticated and smart. Transforming your living space with a gallery wall featuring acrylic photo prints is a fantastic way to showcase your personal style and bring a touch of creativity into your home.
-
Plan your design
Take a little time in advance to plan your gallery wall configuration before you begin hammering nails into the wall. Look at home interior design magazines or type-inspirited images on internet. Think about the kind of style and theme you want to go with, whether it is minimalistic, eclectic or modern. You can draw your design on paper, or you could use online tools to visualize different layouts.
-
Select your acrylic prints
The highlight of acrylic prints is the vivid and sharp colors. Choose the prints that you feel match your style and work best with the overall aesthetic of your room. You can decide on a combination of abstract art, photos or silhouettes. Ensure that the size and orientation of all the prints align harmoniously.
-
Gather Your Tools
The following is the list of must-have tools before you dive deep into a proxy.
- Measuring tape: Tape measure for spacing and squaring.
- Level: To keep your prints leveling.
- Pencil: To label the positions on the wall, use a pencil.
- Hanging acrylic print hardware: This depends on its weight and location.
- Hammer or drill: Depending on your hardware, you can use a hammer or a battery drill.
-
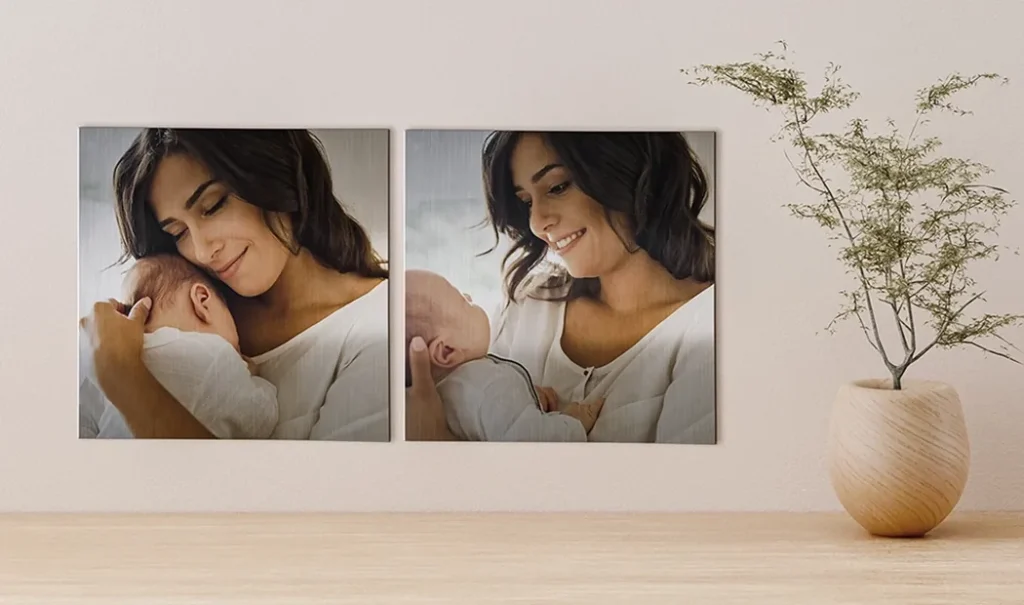
Arrange the prints
Before locking in a final design, arrange your acrylic prints on the floor to play and see various set-ups. Create a tidy and systematic display by arranging the prints in rows or columns, or just hang them up randomly for more vibrancy. Measure prints so they are evenly spaced. When you are satisfied with the composition, take a reference photo.
-
Hang your prints
Using a pencil, put some dots on the wall where the top corners of each print will land. Horizontally, use a level to ensure your marks are even. Hand your acrylic prints carefully, following the instructions for installing the hanging hardware.
-
Final touches
Stand back and see if the overall design of your gallery wall is to your liking. Adjust the arrangement as necessary to achieve harmony and equilibrium. Wipe off dust and fingerprints with a soft cloth, then sit back and enjoy your new gallery wall.
With these few steps carefully followed, your gallery wall will not only highlight your acrylic photo prints but also display them uniquely in a sleek and stylish design.